
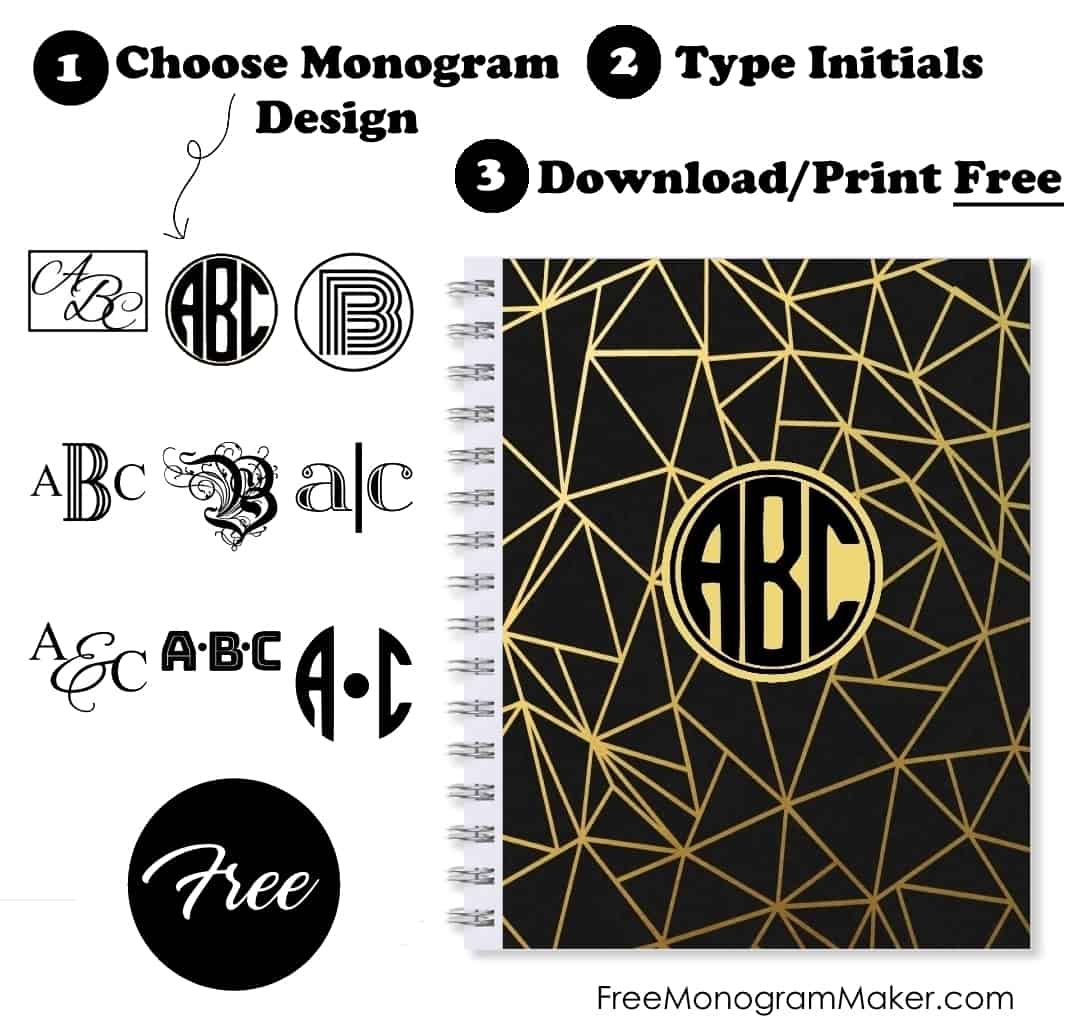
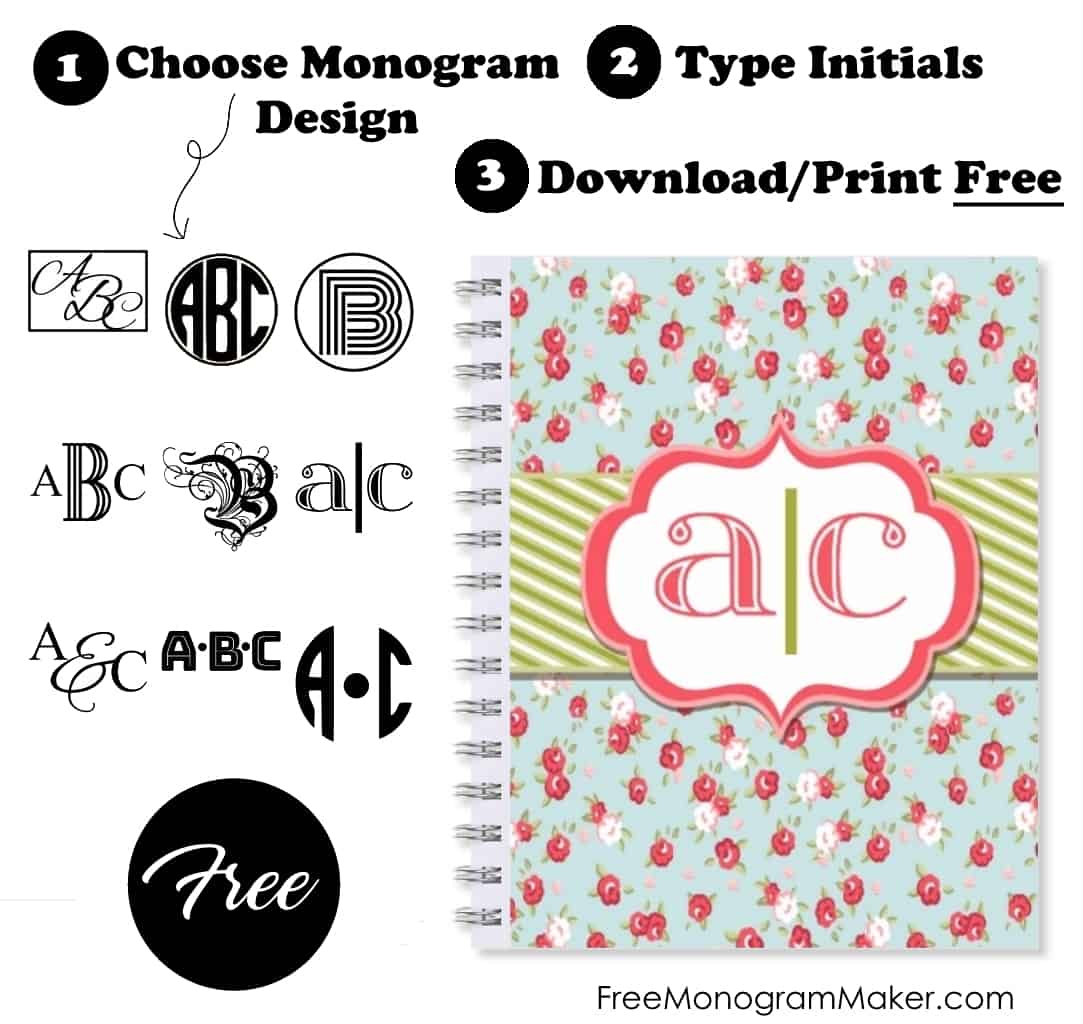
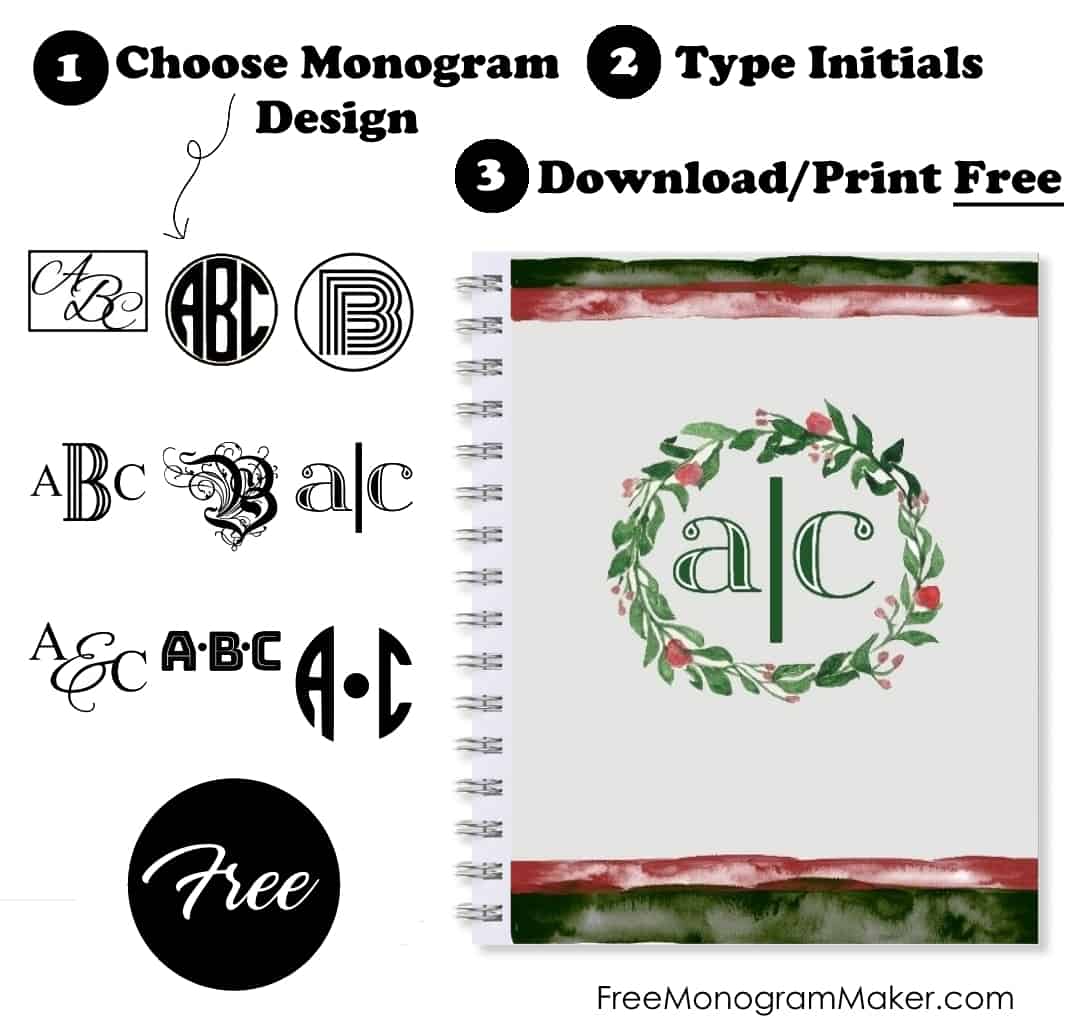
We have a few templates below to create notebook covers with your name or monogram. Since the text is editable, you can actually write anything on the notebook cover and it doesn’t have to be a name or monogram. There are 9 different monogram fonts available for each design. Select the design that you like best.


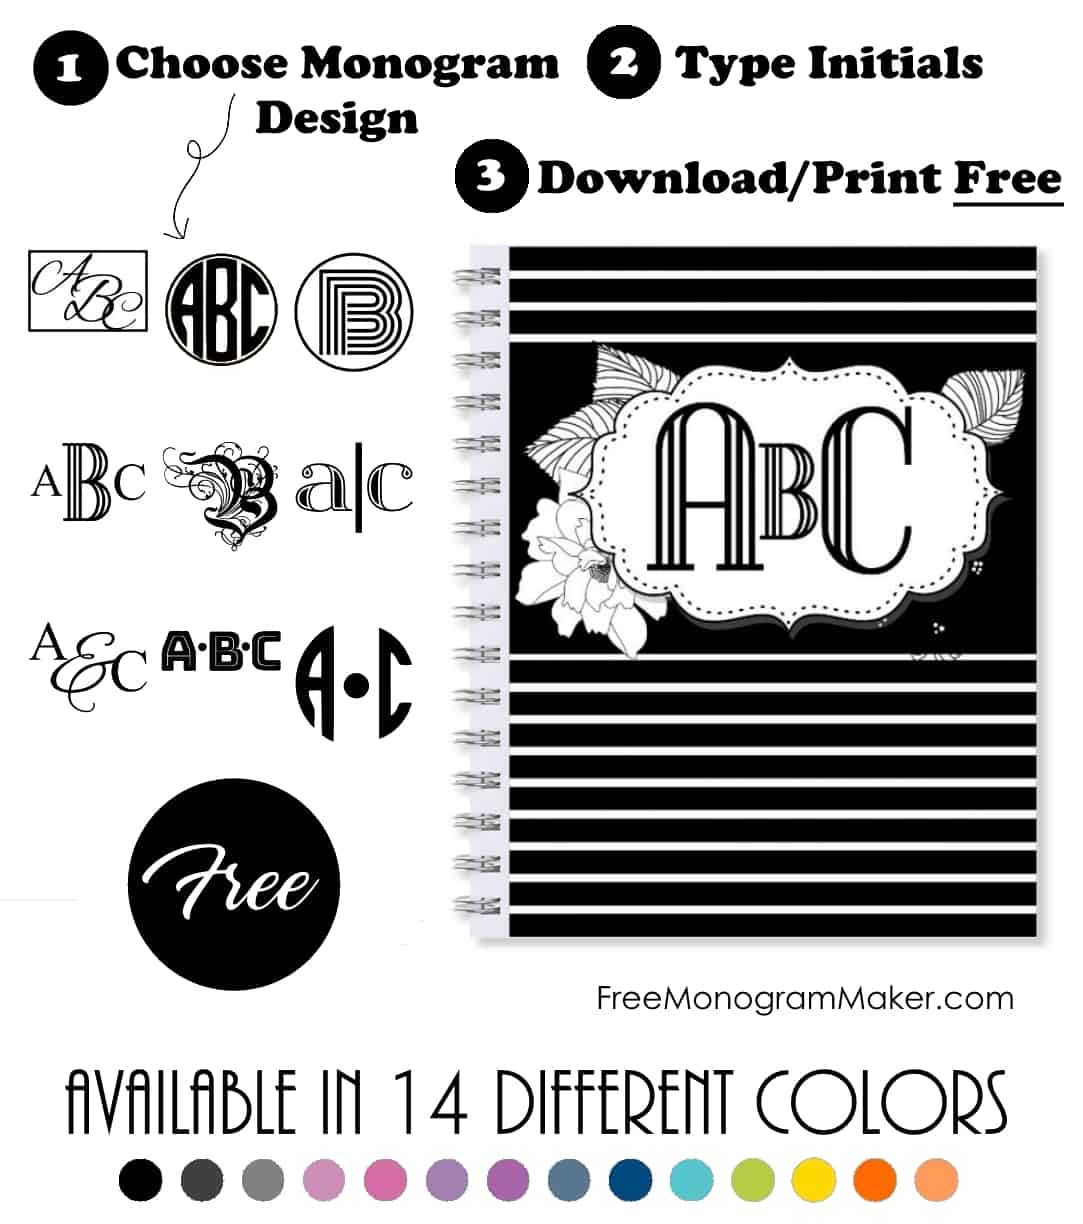
Please note that you can change the color of the striped background.


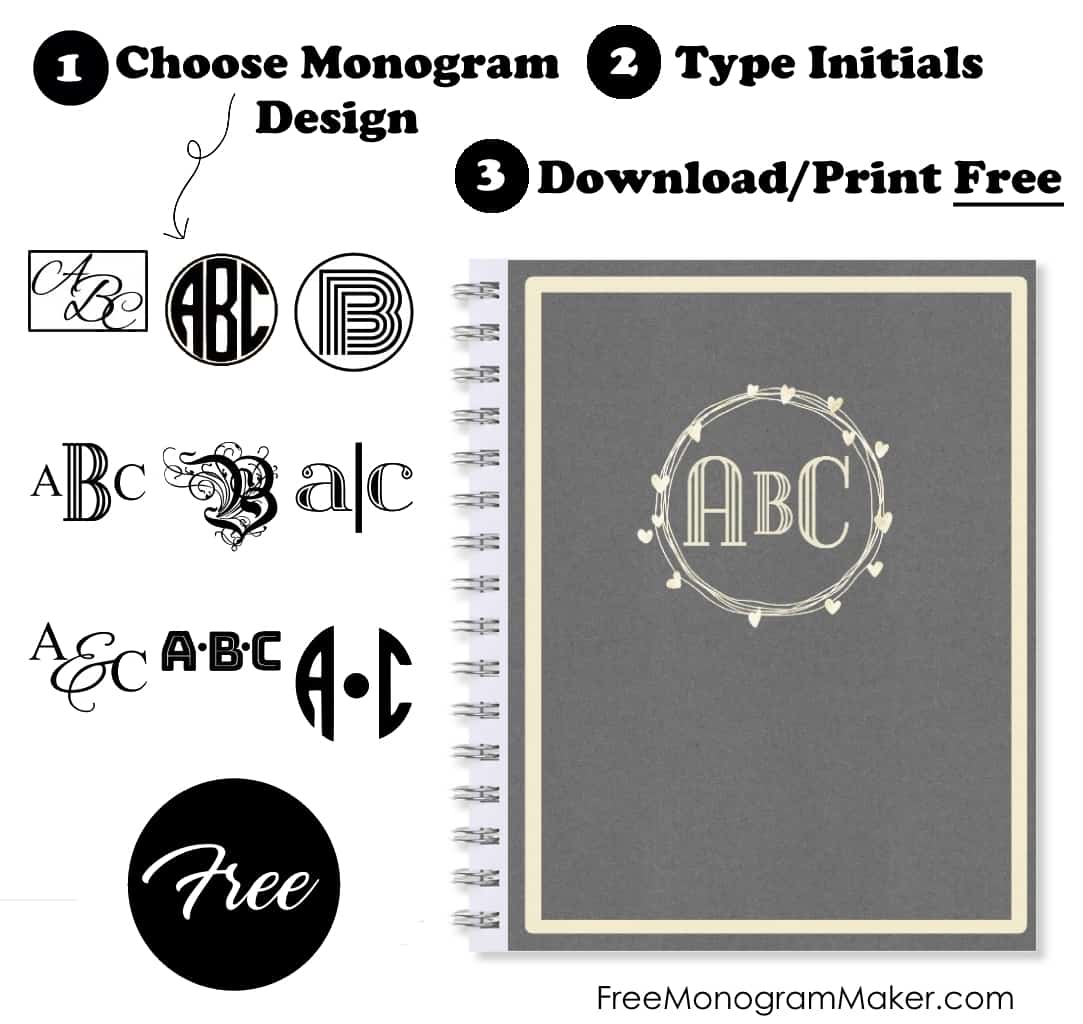
How to Make Monogrammed Notebooks?
- Select a DIY notebook cover template from the selection above.
- Select the monogram or name design.
- Edit the text.
- Print on paper or cardstock. There are 3 methods to create the notebook covers.
- Print on paper and adhere to the top of an existing notebook cover. This is the easiest method.
- Print on cardstock. Remove the existing notebook. Place the two covers back to back and mark each hole on the new cover. Use a small punch or drill press to make a hole in each spot.
- Carefully pull the dogleg at the end of each spiral and insert the spring into the new hole. Bend the spiral back to the same position it was in before.
- Carefully remove the original notepad cover and print directly onto the back of it. The back is usually matt and easier to print on.

You can also take any monogram from this site and print it directly on the original notebook cover. You will need to remove it and then put it in your printer’s feeder. The back of the notebook cover is usually more suitable to print on as the front tends to be shiny and the ink will smudge.