There are step-by-step instructions at the bottom of this page explaining how to customize your logo. You can select any frame, any background and then customize the text. Here are some sample logos but the possibilities are endless.
![]()
How to Use the Logo Maker to Make Your Own Customized Logo
To open the logo maker and start customizing the logo you will need to select a template from the selection above.
If you want a logo that will be unique to you, you can use the logo generator to create it. Select your own background and frame and customize the text. You can move the text out of the frame, make it much larger or smaller or change the font and/or font color. You can play around with it until you are happy with the result. Each time you think that you like your logo you can download it and then continue to make changes in case you find a better layout.
 Decide if you want to change the painted background of the frame. If you want to change both we suggest you start with the background.
Click on the file icon (marked below) and then select “Paint”. You will see a variety of paint samples. Scroll down until you see one you like. Click on it.

 Select paint.

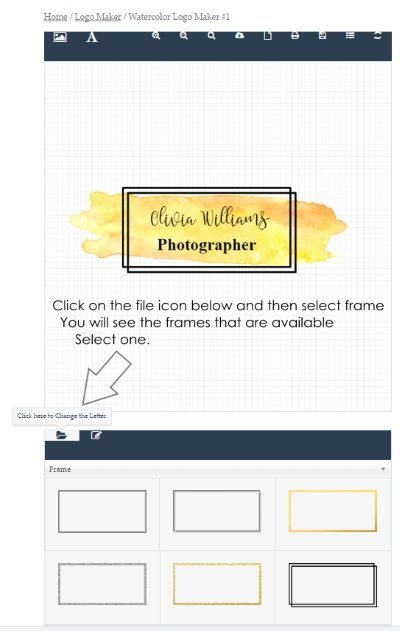
 Repeat the previous two steps but select “frames”. Find a frame you like and click on it.
 Move the painted background around and make it smaller or bigger if you want.
Move the frame until you are satisfied with the position.
 Select the text to customize. See below. First, select “Olivia Williams” and replace with your name or company name. If you are not a photographer then replace the description as well.
